Tuesday, October 9, 2012

Cards for Class this Saturday.

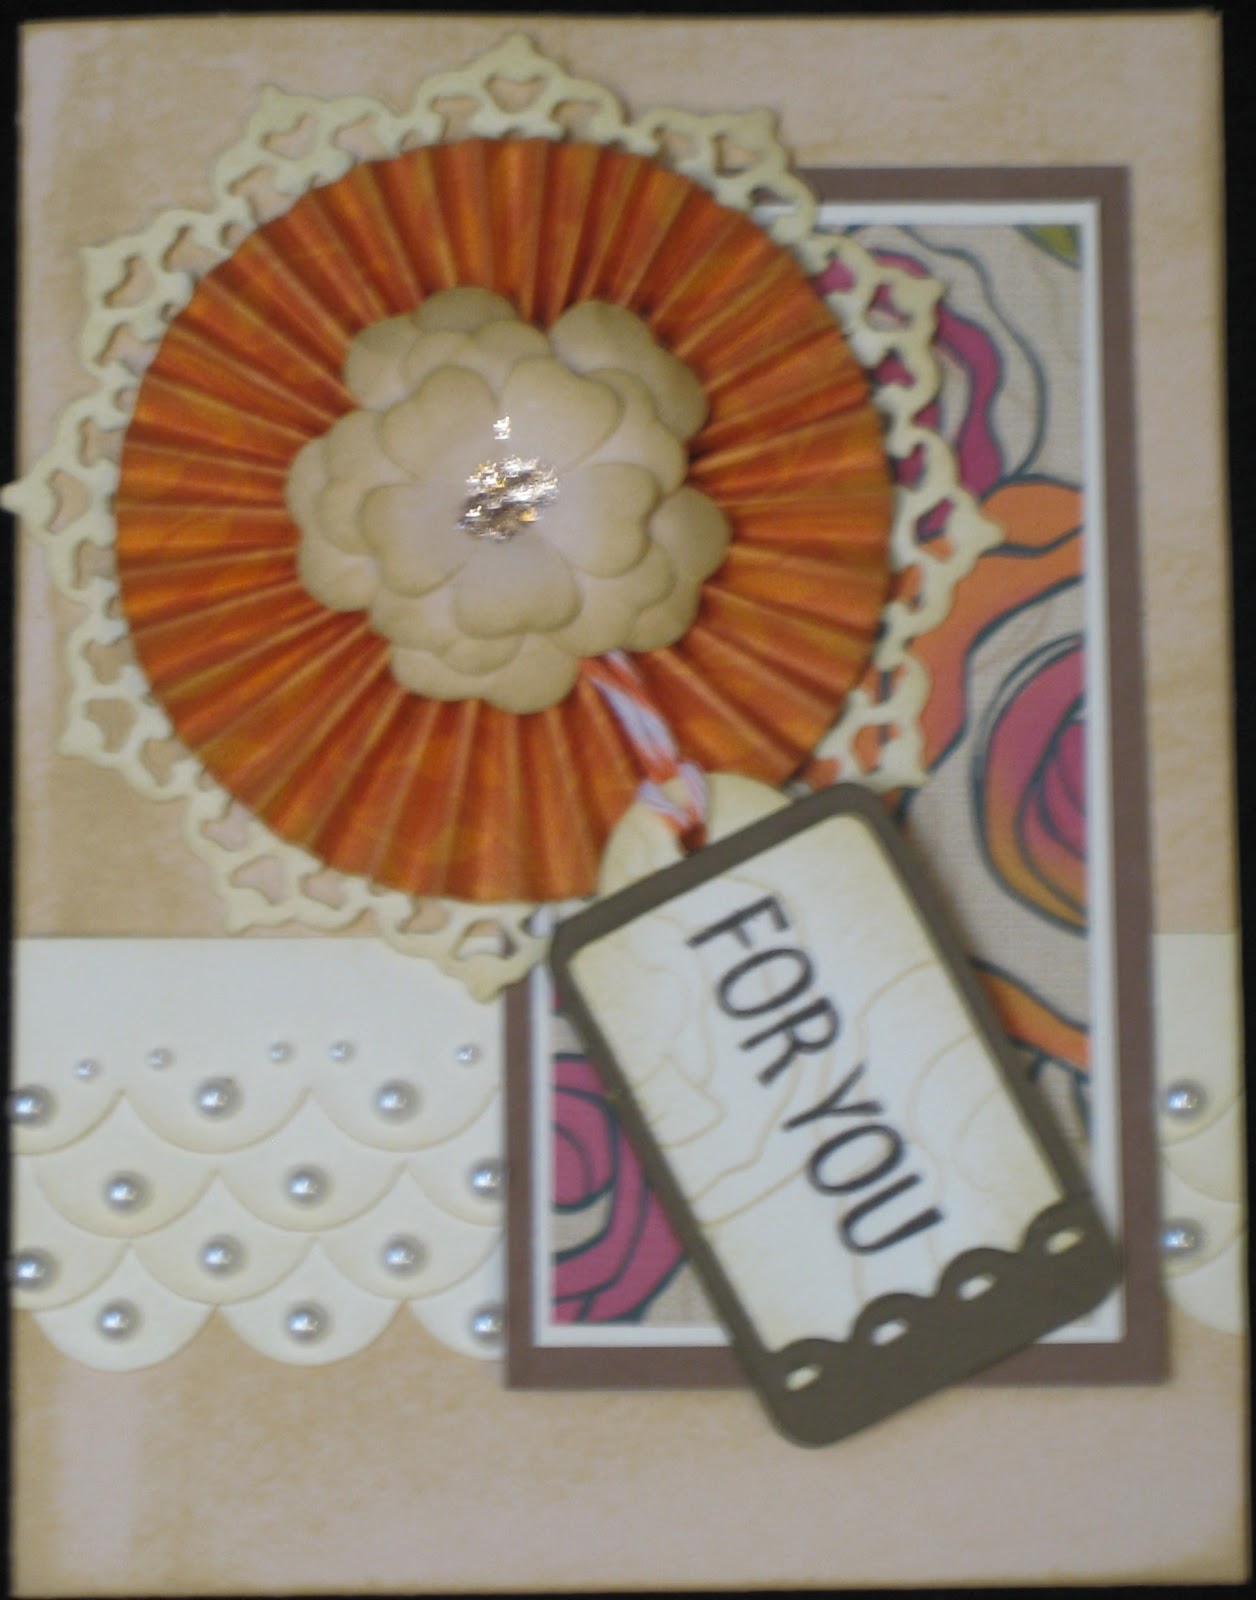
Here are the cards I made for this Saturdays card class.  The first two I used CTMH's Clementine paper pack and Card Word Puzzle C1494, Say It In Style D1283 Stamp sets. Along with CTMH's Art Philosophy Cricut Cartridge.


This card I used CTMH's Flirty paper pack and For Every Occasion D1187 Stamp set.
 My Niece Tarina made this one for me using CTMH's Flirty Paper pack, CTMH's Artiste Cricut Cartridge and Baroque Borders S1208 stamp set.


Monday, October 8, 2012

Ph. D Certified

A couple weeks ago I went into the CTMH Corp. website and logged into the Training Academy to finish the Ph. D. Courses that I started earlier this year.  I completed my Bachelor's and Masters Courses in 2009.  When I completed all 4 of the courses a message came up that said

On behalf of Close To My Heart and the Training Academy, we would like to congratulate you for earning your Ph. D. degree. Reaching this milestone in your Close To My Heart training is an accomplishment you should be very proud of.

In 4-6 weeks, you will receive your 12" × 12" diploma along with your Ph. D. certified pin in the mail.  It is signed by CEO and founder Jeanette Lynton and the President of Training Monica Wihongi.

I received the certificate and pin in the mail Friday.  Thanks Jeanette and Monica.  I love the Pin and Certificate.  I have just the place to hang the Certificate.


The pin is magnetic and I wore it all evening.

Happy Scrappin',

Janice

Sunday, October 7, 2012

Frugal Living NW

I found a new site that I would like to share with you, it is called Frugal Living NW.

FrugalLivingNW.com is here to help you save money so you can achieve your family's financial goals. We focus on deals in and around the Pacific Northwest, sweet online offers & creating a wonderful home on a budget. New to couponing? START HERE!

The goal of this blog is to help each Frugal Living NW reader save money, not just for the sake of having more money but to help each of you reach your financial goals. We focus on deals in and around the Pacific Northwest, especially Oregon and SW Washington.

Please become involved in the Frugal Living NW community:
- Comment with your deals and questions.
- Get the deals sent to your email.
- Contact us with ideas and suggestions.
- Post your own sweet deals on our Facebook page.
- Follow Frugal Living NW on Twitter.

Help us continue to make Frugal Living NW a valuable resource for people in the Pacific Northwest!

You should check it out.

Happy Scrapin',

Janice


Thursday, October 4, 2012

Take a Walk in the Moonlight Blog Hop

I found a Blog hope that I think you will enjoy.


If you want to see some great Ideas using the Moonlight paper pack, you should take a look at this blog hop.  These ladies have done a great job.


  1. Lucy ~ Love 2 Create 
  2. Darla ~ Caution: Crafting is Contagious
  3. Deanne Treasured Heart
  4. Bethany ~ Stamping at Home
  5. Wendy ~ My Scrapbooking Blog
  6. Stephanie ~ The Quilted Scrapper
  7. Erin ~ CreatErin
  8. Maria ~ Maria's Paper Craft Place
  9. Carolyn ~ Nuts 4 Scrappin' 
  10. Joanne ~ Josie's Joy
  11. Julia ~ YouCanCreate
  12. Theodora  ~ Celebrate Crafts
Happy Scrappin',

Janice

Save with Studio J®!


October 2012 Constant Campaign
Get a free Studio J® layout in October! In this special promotion, you will receive a free custom-printed layout when you buy 9 custom-printed Studio J layouts. To receive the discount, just add 10 or more layouts to your cart. You’ll see a discount reflected in your order total. And you can totally take advantage of this promotion by ordering in multiples of 10. Buy 9, get 1 free. Buy 18, get 2 free. Buy 27, get 3 free. Up to 4 free layouts! It’s a great time to use any Member Bonus layouts you may have. If you haven’t tried Studio J yet, now is the time to start!

Studio J® Tricks to Add Flair to Your Layouts

Even though Studio J® is fast and easy to use, it is helpful to know some great tricks that can make customizing your layouts even more exciting. Here are some Studio J tricks straight from our professional Close To My Heart artists:
1. Customize your background and texture paper. You can change the color and intensity of the background and texture paper included in whichever kit you choose. Simply select the piece of background and texture paper, change the color in the color selection tool, and increase or decrease the intensity of the color in that same popup box.
2. Crop My Stickease® quotes, titles, and tags. The cropping feature on the My Stickease images allows you to select a section of a quote, title, or tag to use as a border or other embellishment.
3. Create a customized My Stickease image. If you have a specific image in mind to use as an embellishment on your page, you can create a customized My Stickease to fit your theme perfectly. Simply add a text box, photo hanger, ribbon, ribbon slides, and Stickease to create the little suitcase! So easy! Be sure to crop or send elements behind other elements when necessary, and add several elements together for a unique look!

4. Select more than one element at a time. If you want to move several elements of your layout at once, simply click and drag your mouse around the elements you would like to select. Let’s take buttons, for example. After the buttons have been selected, you can click the icons in the popup box to choose to align the buttons vertically or horizontally if you desire.
5. Make faux washi tape with vellum text boxes. To create the look of a piece of clear washi tape, make a small rectangular text box, filled with vellum background (this is the default color for text boxes). You can make the tape strips as large or small as you want, or even layer them for more emphasis.

6. Stretch one photo across multiple photo wells. If you have fewer photos than photo wells, instead of deleting the excess wells, try scaling the picture to a larger size and then copying the picture to other photo wells and matching the photos up until they align with an almost seamless image. This trick works best with photo wells that are adjacent to each other.
7. Create ruffled ribbon. Select “Ribbons” in the drop-down menu under the Embellishments toolset. Choose ribbon tab and rotate the tab so that it is vertical on the page. Then layer several tabs on top of one another, sending every other one to the back to create a ruffled look.

8. Create a jagged border with text boxes. You can create a jagged border simply by rotating multiple text boxes about 45 degrees and making them the same color as the background. Put these boxes on top of a long, rectangular box of another color, and you’ve got a jagged border!

9. Change the background of your layout. Sometimes you may like the photo and journal arrangement in a layout, and yet want to change the background colors. Because photos sit on top of everything else, this is easy to do. Simply pull a journaling box over the space you want for a different background and fill it with a color from the color selection tool or a patterned paper from the Papers toolset. Then, send it backwards until the photo wells are on top of your new background.
Bonus Trick! Use keyboard keys to make embellishments.Did you know that some of the best tools for creating custom embellishments are the basic keys on your keyboard? It’s as simple as typing into a journaling box with no background color. Use periods to make a polka dot pattern, angle brackets to create a trendy Chevron look, overlapping pound signs to make burlap, question marks to make rope, and so much more!

Encourage your customers to try these tricks on their own Studio J®layouts. October is the perfect month to give it a go because for every 9 layouts you create, you’ll get a 10th layout for FREE!
For more info on using Studio J, check out the StudioJ.com/blog.

You can check out http://pinterest.com/search/?q=studio+J+layouts for lots of great ideas using Studio J also.

Happy Scrappin',

Janice


Wednesday, September 26, 2012

One fine day.

3 of my grandchildren spent the night Saturday night and on Sunday, Grandpa took Zack to some garage sales with him.  He was so excited and had a great time. He found a Game boy advance with 2 games and a caring case for $5.00.  What a deal.

When the Girls got up, I took them out to feed the goats and chickens.  They love to catch the baby chicks and hold them.  Elliot took some treats right out of their hands like he does for me.  Of  course he has to spin a circle between each treat or bite of bread.  He is so funny, he is quite the character.  Still thinks we are crazy for wanting to touch him.   I will have to take a video of Elliot when I give him a treat.

After we were done feeding the animals, we went into the Stamp room and I cut out a mini album with 6 pages each for Mary and Hailey from the new Artiste Cartridge and 3 items each from other cartridges.  I let them choose the paper colors and they both chose the mini album from page 58, which has 4 pages so I let them choose which pages they wanted 2 of.  This little book took most of the day.  The girls had a great time.

When Dawn came to pick up the kids, I took her out to meet the goats, Elliot took a treat from her and Giselle came right to me  and took a treat from me.  This is a first for her, especially with other people standing near.  I usually have to gently tug on her rope to get her to come over to me to get the treat.  We noticed that her rope was all twisted up (she still had about 15 feet that wasn't all twisted up), so I held her collar while Dawn untangled her rope and we slid it back on her without her even flinching.  She just stood there letting me scratch her neck and head until we were done, we walked away before she realized that we were not holding onto her.  They are both getting used to all the kids running through the yard and making all kinds of noise.  They just stand there and watch them now instead of running.  Once in a while they still get startled but not as often. We had 10 kids in the yard at one time today.


Monday, September 24, 2012

Update on my Stamp room.

I finally got my work area in the stamp room cleaned up and usable.  I found a couple of old wooden spice racks that work great to hold my punches, now they are displayed around the room where I can see them and will be able to use them more often.  I decided that I am not going to get a space at the local Bazaars this year so I used some of my display racks to hold my embellishments which make it easier to see what I have. I have some of my 12" x 12" scrapbooks on the corner shelf to the right.  The drawers under my printer hold all my adhesives and CM cutters along with extra cutting blades for my Cricut and my paper cutters.
 This desk is an old sewing table that we purchased from a Mervin's store that was closing in Eastport Plaza about 18 years ago.  It reaches across the entire room, there are shelves on the right for storage and drawers in the middle, I have the top one pulled out with a cutting board laying on top for an extra work surface right now.
 This is on the left side of the drawers, I have all of my stamps stored under the counter and a mini bakers rack with more punches then in the corner I have my bins with eyelets, hinges, picture hangers and lots of other non CTMH embellishments.  On the next shelf, I have my homemade Alcohol inks and a spice rack with CTMH embellishments.  On the next shelf I have my Keurig rack that holds all my embossing powders, my Rolodex and pictures of family.  On the top I have pictures of my Daughter and her family.  I have my non CTMH inks in the rack on the wall and more punches.  Under the Big Kick I have a 7 drawer unit that holds Magnets, glitter, sponges, sandpaper, extra Xyron 510 cartridges, Plastic binding combs, staples, Non CTMH ink refills and much more. Another spinner rack sits on the top of the cabinet that holds all my Cricut cartridges and my Sizzix dies, literally at my finger tips.   
 My desk is actually a sewing table.  It is a little messy because I had just finished making the Scarecrow card that is sitting on my desk.  I will show you the card later in this post.  On the right side of my desk, I have a shelf with my Cricut and my scrap paper sitting next to it so I use the scraps first.  Next to the scrap paper I have a set of drawers with ribbons and then my really cool vintage file cabinet that holds all of my 12" x 12" papers, there is a shallow drawer on the top that holds all of my Cricut cutting mats including the 12" x 24" mats.  We found that at the St. Vincent De Paul Thrift store in The Dalles last Saturday on the way to Dufur to pick up the goats.  On the desk I have my colored pencils and glitz, liquid glass and a basket of small punches.  I have small baskets hanging under the Cricut that hold my markers and tape gun along with my stamp scrubber and Cricut tools.
On the left side of my desk, I have a legal sized 2 drawer file cabinet that holds my 8.5" X 11" papers and labels, even my Business cards. On top of the file cabinet sits my Ink tower and my tool turn-about.  So far I have put together and sorted over 300 cards to go to Operation Write Home.  I still have to go through the rest of the room, and closet before I am done, but at least I am way closer to my goal.  I have taken about 5 van loads of crafting supplies and projects to the thrift store and I still have more to take.  That doesn't include the boxes of papers that I gave to Tarina and Dawn for their Scrapbook stash.  This room is the biggest bedroom in the house, bigger than the Master Bedroom and it was packed, I hardly had room to walk in and get supplies to carry to the Dinning room table, where I created my projects and then carried it all back to the stamp room again.  I love the 2 big windows and don't really have to use the lights till later on in the day.

This is the card that is sitting on my desk, it is from our Stamp of the Month for September Fall Favorites.  I plan on posting more artwork soon, so check back often to see what I have been up to. 

Happy Scrappin',

Janice

Sunday, September 23, 2012

We added a couple new animals to our little farm.

Meet Elliot
 and Giselle.

I want to try my hand at Goat Cheese and Butter so we will be having kids in the early spring hopefully.  They are Dwarf Nigerian Goats.  Neither are really friendly but Elliot is eating bread and treats out of my hand now, however he still won't let me pet him.  He is funny, cause when he sees me in the back yard he comes to the end of his chain to see if I have a treat for him.  Giselle will not approach me but if I pull her to me she will eat a treat out of my hand also.  I am hoping to get them tame enough to let me stake them out in the back yard near the fence where the Blackberries grow.  I'm sure that will take some time, we have only had them for a week now.

I went to our crop today and when I returned my DH said that Elliot greeted him and ate bread and treats out of his hand also.  Apparently Elliot also ate from my sons hands too.  Just a couple days ago Elliot would bolt to the end of his chain as far away from any of the men as he could get.  I think that is because the men caught him for us to bring home.  He seems to be coming around a little faster than I thought.

I did get a few cards made at the crop today, I will post them in a couple days.

Happy Scrappin',

Janice 

Friday, September 14, 2012

The Swipe Hype: Clearly the Best, Stamping with Close To My Heart Episode 2

Here is another great video from Close To My Heart.

“The Swipe Hype” features the swiping stamping technique. With stamp swiping, you can add texture, distressing, movement, and motion to your products. 


I hope you enjoyed the video, if you have questions or need more information call or text me at 503-708-6889 or email me at jwilson@bctonline.com.

Happy Scrappin',

Janice

Thursday, September 13, 2012

Bend It, Curve It, Stamp It: Clearly the Best, Stamping with Close To My Heart Episode 1.

Close To My Heart has some great new videos on My Craft Channel, check it out here.

“Bend It, curve It, stamp It” features a stamping technique to manipulate the stamp images for personalized designs.


I hope you enjoyed the video, if you have questions or need more information call or text me at 503-708-6889 or email me at jwilson@bctonline.com.

Happy Scrappin',

Janice

Thursday, September 6, 2012

We celebrated 31 years Yesterday.

September 5th, 1981
September 5th, 2012 
I can hardly believe it has been 31 years already.  

My Dear Hubby took me to Claim Jumpers for dinner, it is amazing the places that are willing to accommodate for food allergies these days. We have never been there before and so I emailed the restaurant on Tuesday evening asking about the type of oil they use. The Manager called me just as we were getting ready to leave for dinner to let me know that they use Soy oil and to let me know that they have lots of customers who they prepare special meals for, so it would not be a problem if we wanted to come in, so I said see you in a few minutes we are on our way there.  The food was delicious, or at least Steve's was. Because of my diet restrictions mine is the usual grilled chicken and baked potato plain, they did bring out some EVOO for me to use on my baked potato and of course I add salt and pepper.  At least I didn't have to cook my own meal.  That always makes it taste better.

After dinner Steve took me on our usual Thrift store shopping spree.  No date is complete with out that.  He is such a Romantic.  With work and all, where does he come up with such romantic getaways?  We are planning a trip to the beach this coming weekend to celebrate.  Hope the weather is great.  I can hardly wait to walk on the beach again.  That is something I couldn't do for many years because of the Fibromyalgia, but thanks to this Comprehensive Elimination diet I can walk on the beach again. Yeah!!! 

I hope to get a few things finished up this week in the stamp room, so I can finish getting my room back in order and take pictures to post then get back to crafting again.  

Happy Scrappin',

Janice

Sunday, September 2, 2012

My Chicks are 6 weeks old now.

It is hard to believe that time passes so quickly.  I am pretty sure I know the sex of my chicks now.  I have 3 hens and 1 Rooster and now that I know that I have decided what to name them too.  Here are their pictures and names.

 This is Cleopatra. She is a Partridge Cochin Frizzle.
 This is Bella Vie. She is a Partridge Cochin Frizzle also.
 This is Josephine. She is a Partridge Cochin, but I don't think she is part Frizzle.
 And this white one is my little Rooster Chuck. 

Chuck refused to come out from under the tree so that I could get a good picture of him, and when he did he ran under another one near by.
I am pretty sure that Chuck's Mother is my Golden Sex-link, not sure who his dad is,
maybe my Cochin Rooster.

I have learned a lot about chickens this year.  I learned that Sex-links are bread to know the sex when they hatch.  To get the Golden Sex-Links they breed a Red hen with a Silver Rooster and when they hatch the Golden are hens and the Silver are Roosters, they never stay true the next generation.

Well I am off to finish working on my stamp room, hopefully I will be able to share pictures later this week.

Happy Scrappin',

Janice

Saturday, September 1, 2012

Team Name "Scraptastic Treasures"

You might not have seen my August posts, welcoming my new down-line, Teri Nelson and Tarina Lafollette. Getting a down-line meant that I had to think of a name for our team.  I had a huge list of possibilities, which included names like Scraptastic Hearts, Scraptastic Creations, Scraptastic Divas, Distressors on the loose, and Have stamps will travel and a whole lot more, but I have finally narrowed it down to one.  I have decided to call my team Scraptastic Treasures.  I received an email from Corporate today, stating that my team name was approved. So it is official.

Happy Scrappin',

Janice

Friday, August 31, 2012

National Stamping Month Promotion

Learn how to celebrate the everyday moments with the It’s Your Day double stamp set for National Stamping Month. You can create cute projects with nearly 50 adorable stamps!


I hope you enjoy these videos that I have been posting lately.

Happy Scrappin',

Janice

Thursday, August 30, 2012

Cricut® Artiste: One Size Fits All


Discover how to create multiple-piece projects using the Cricut®Artiste cartridge. You no longer have to size each individual piece—the Cricut® machine cuts the pieces to fit one assembled size of your choice!


Wednesday, August 29, 2012

Cricut® Artiste Easy Instruction


Discover how to make accents, cards, and 3-D projects with the Cricut® Artiste cartridge. It’s easy to learn with the simple instructional booklet and assembly booklet!


Saturday, August 25, 2012

100th Birthday Card Update.


Yesterday my friend Jean came to pick up the cards that we made for her the other day and she LOVED them.  She thinks that the twins will LOVE them also.  She was so excited to see that we put Roses on them and that we used the new Artiste Cricut Cartridge too.

In-case you didn't get to see the original post, here are the cards again.


I have been working hard these last few weeks on cleaning up my craft room and I almost have it the way I want it.  When I get it done, I will take pictures and share them with you.   I have a few items that I plan on selling on eBay, but I might list them here first.  So if you are interested in some crafting items like Sizzlits Alphabets, Cricut Cartridges, Stamps and Inks, check back often.  I will at least post on here if I decide to sell them on eBay and let you know where to look for them.

Thanks for taking the time to look at  my blog posts.

Happy Scrappin',

Janice


Thursday, August 23, 2012

100th Birthday Cards

A friend called me yesterday and asked me to make 2 cards for a set of Twins turning 100 this weekend.  So I started working on them immediately.  I also recruited the help of my Niece and new Downline Tarina, to help me with this project.  I love both cards and hope Ruth and Ruby do also.

Here are pictures of the cards.

This one is made with Clementine papers and the new CTMH Artiste Cricut cartridge.
 Tarina worked very hard on this card, she added Liquid Glass to the 100th so that it would stand out, the Banner and the 100th along with the roses are all made with the Artiste cartridge.  The Stamp sets were Card Chatter- Birthdays D1475 and Playful Flourishes D1212.  Tarina used the new Champagne cs for the base and Saddle and sorbet to back the banner in.  She also used Chocolate grosgrain ribbon and White organdy ribbon.  The butterflies were punched with a Martha Stewart punch.  Tarina added Rhinestones and pearls to the roses.  She distressed all the edges before she put it all together.  I love it.

This card came together nicely for me,  I used the Sonoma papers and the Art Philosophy Cricut cartridge to cut the card at 5 1/2" then cut the floral at 5 1/4" and the green I cut at 4" then the last scallop circle I cut at 3 1/2".  I cut the Banner and the accent from the Artiste Cartridge at 1 1/4" and the 100 at 1" and the th at  1/2".  The Roses were also from the Artiste cartridge.  The leaves are a McGill punch and the Butterflies were punched with a Martha Stewart punch.  I added Liquid Glass to the 100th also.  I used  the Word Window punch from SU to Stamp the Happy Birthday from Royal Birth D1441 and SU's Modern Label punch to layer them on.  I put bitty pearls in the centers of the roses and on the butterflies.  I distressed all the edges before I put the card together.

I hope my friend likes the cards as much as I do.

Happy Scrappin',

Janice 

Tuesday, August 21, 2012

Some Art work

I made this card for my DH to send to his Sister.  I hope she likes it.


I used some of our new stamps, Fall Harvest C1504, Thanks A1125, I cut the frames out with the Art Philosophy Cricut Cartridge and Stamped the leaves in Olive then rocked the edges in Creme Brulee and Champagne then sponged Ruby on the edges of some.  I stamped the Acorn in Champagne and then embossed it with ultra thick embossing powder and then stamped it again for the texture.  I used Glue dots and  foam tape to adhere everything.  Leave me a comment to let me know what you think about the card.

Happy Scrappin',

Janice

Sunday, August 19, 2012

Another update on my chicks.

 Here is my little White one, I am starting to think this might be part Silkie, and Golden Sex-link.  I read that a Golden Sex link does not stay true in 2nd generation.  The original Mother was a red and the Father was a Silver.  Causing the Golden coloring.  Then adding the White Silkie into the mix just throws everything off.  I can see longer white or grey fluff around the tail and neck areas.  Still not sure of the sex, thinking it might be a hen, I certainly hope so.
 This is the oldest chick with Medusa, foraging in the yard. 
Here are 2 of them foraging with Sarasvati and Medusa. 
 Sarasvati and the 2nd oldest foraging together.
 These 2 look like they are wearing Tutu's. I am sure they are Partridge Cochin Frizzle crosses.  I think they are hens too, but time will tell.  They seem to have all the characteristics that are supposed to be hens.
 Today these 3 chicks are 4 weeks old. 
 This chick is 4 days younger than the rest.  It's tail feathers are bigger than the others Tail feathers are.
 This one I am pretty sure it is a Partridge Cochin bantam, and again I think it is a hen also.

I hope this has been entertaining and informative as I am learning as I go.  I have been enjoying my time with my flock and hopefully will be able to share more about them as they grow.  Thanks for taking the time to visit my blog and read my Chicken diary.  I hope to get some Scrapin' done here soon.

Happy Scrappin',

Janice

Friday, August 17, 2012

Olive Garden Chicken Gnocchi Soup with a twist.

I get tired of the same old things all the time. So I decided to make the Olive Garden Chicken Gnocchi Soup, so that I could eat it. Gluten Free, Dairy Free. It is so yummy. Here is the recipe.

Gluten Free, Dairy Free, Olive Garden Chicken Gnocchi Soup

Ingredients;


1 batch Chicken Gnocchi (Potato Dumpling Recipe Below)

5 tablespoons Extra Virgin Olive Oil

4 Tablespoons Gluten Free all-purpose Flour

1 Quart Almond Milk

½ cup Celery Finely diced or ½ teaspoon Celery seed

1 cup chopped Onion or 1 teaspoon Onion powder

2 Garlic Cloves minced or 1 teaspoon Garlic powder

2 14 oz cans chicken Broth (I use Free Range Organic Chicken broth)

1 cup Carrots finely shredded

1 cup Chicken Breasts, cooked and diced

1 cup fresh Spinach ( I have used Frozen Finely chopped Broccoli also)

½ Teaspoon Salt

½ Teaspoon Thyme

½ Teaspoon Parsley

Instructions;
1. Sauté the Onion, Celery and Garlic in the Olive Oil over medium heat until the onion becomes translucent.

2. Add the Flour and make a Roux. Let the Flour and Olive oil cook for about a minute.

3. Add 1 Qt. Almond Milk.

4. Into the Roux add the Chicken and Carrots.

5. Once the mixture becomes thick, add the Chicken Broth.

6. Once the mixture thickens again add the Gnocchi, Spinach and seasonings.

7. Simmer till soup is heated through.

8. Before serving season to taste with Salt.


Gluten Free, Dairy Free, Home Made Instant Potato Gnocchi Ingredients;

2/3 Cup Dry Instant Potatoes

2/3 Cup Boiling Water

1 egg at room Temp., Slightly Beaten

½ teaspoon Salt

1 ½ cups Gluten Free All-purpose Flour

Instructions;
1. In a Medium Bowl, stir instant potatoes into the boiling water until blended.

2. Fold the egg and Salt

3. Slowly add in the flour, a third at a time. Dough will become thick and will not stick to the bowl.

4. Place the dough on a well–floured surface and knead well. You want it not to stick to anything.

5. Cut the dough into 4 sections. Roll each section into cylinder rolls about the thickness of your thumb.

6. Cut them into bite sized pieces. (I cut mine about 1/2” long.)

7. Using your fork tines, make indentions on the Gnocchi and form to your liking.

8. To cook, place Gnocchi into boiling salted water. DO NOT crowd the pot.

9. Gnocchi is done when it floats to the top.

10. Serve with your favorite sauce.


 I made Gluten Free Banana Nut Muffins last night also. I used the Aunt B's Mayberry Cookbook "He's A Nut Banana Bread Recipe". and changed it to be Gluten Free, Dairy Free.


Ingredients;
3/4 Cup Olive Oil

3/4 Cup Maple Syrup

2 Eggs

3 Bananas

3 cups Gluten Free All-Purpose Flour

1/2 Teaspoon Baking Soda

1/2 Teaspoon Vanilla

1 Cup Walnuts

Instructions;
  1. Preheat Oven to 300 degrees.
  2. Grease and flour 1 large or 2 small loaf pans.
  3. In a large bowl cream together the Olive Oil, Maple Syrup and Eggs.
  4. Add the Bananas, Flour, Baking Soda, Vanilla and nuts.
  5. Mix well.
  6. Pour the Batter into the prepared pan/s.
  7. Bake for 1 hour or until brown.
  I hope you enjoy the recipes.

Happy Scrappin',

Janice


Thursday, August 16, 2012

Update on the Baby Chicks.

The babies are now about 3 & 3 1/2 weeks old.  They are getting bigger and now I can see tail feathers starting to grow.  I still can't tell the sex yet, but in another couple weeks I'm sure I will be able to.  Here are some pics.
 This is the youngest one, it has the strait wing feathers and I can see the tail feathers starting.
 I love the coloring of this little chick.  This one is so fast we call it Speedy Gonzales.
 This is the second one that hatched and it is the darkest of all of them.  It has the curly wing feathers and barely has tail feathers.

 This is the First one that hatched, it has similar markings as the other two but it's wing feathers aren't quite as curly. It is lighter in color like the youngest one.
 This is the third oldest and has a lot of white feathers.  It is now getting some black on the wing feathers.  After reading a lot about my hens, we think that this one might be from my Golden Sex-link.
 I let them out everyday so they can forage in the grass.  Sarasvati and Medusa keep a close eye on them, especially when the other chickens are around. 

These chicks are so cute and fun to watch.  I can hardly wait to see them develop into big chickens.

Happy Scrappin',

Janice

Yeah, I have another new Down Line!!!

I would like to welcome Tarina Lafollette to my team.

Tarina will be sporting the New Damask Back pack soon too.

Click here if you want to sign up on my team and get this great Damask Back Pack.

When a new Consultant joins Close To My Heart in August they will receive an exclusive Damask Tote Bag for FREE (retail value $50)!  This offer is good for both the $49 and $99 New Consultant Kits (while supplies last). Yes, this is the same cute bag we gave to Consultants who attended Convention 2012 in Dallas.  This awesome, coated-canvas tote that can be slung over the shoulder, across the chest, or worn as a backpack. This offer has limited availability, so act soon if you want this AWESOME Tote.

Happy Scrapin',

Janice

Wednesday, August 15, 2012

There is a big sale on my website going on NOW!

12 x 12 albums- $2.00, Paper Packs, Accessories, Stamp Pads and LOTS MORE all for CHEAP, CHEAP, CHEAP! The sale is WHILE SUPPLIES LAST and must be ordered on my website. 


I am unable to place the order for you. 

Go to - http://janicewilson.ctmh.com/Retail/Products.aspx?CatalogID=1702
  • For best selection- SHOP EARLY! Once they run out, the items will be gone forever.
You can order from the new catalog on that site too. Combine your order if you like!

Place an order of $35.00 or more and get the National Scrapbooking Double stamp set for just $5.00 and add another $15.00 to that and get the August Stamp of the month for just $5.00 more.


Thanks for looking. Happy Scrappin'!